Mirrored from: http://html5hacks.com/blog/2013/04/21/push-notifications-to-the-browser-with-server-sent-events/
Created by Opera, Server Sent Events standardizes Comet technologies. The standard intends to enable native real time updates through a simple JavaScript API called EventSource, which connects to servers that asynchronously push data updates to clients via HTTP Streaming. Server Sent Events use a single, unidirectional, persistent connection between the browser and the server.
Unlike the Web Socket API, Server Sent Events and EventSource object use HTTP to enable real-time server push capabilities within your application. HTTP Streaming predates the WebSocket API, and it is often referred to as Comet or server push. The exciting part here is that the Server Sent Events API intends to standardize the Comet technique, making it trivial to implement in the browser.
What is HTTP Streaming?
In a standard HTTP request and response between a web browser and a web server, the server will close the connection once it has completed the processing of the request. HTTP streaming, or Comet, differs in that the server maintains a persistent, open connection with the browser.
It is important to note that not all web servers are capable of streaming. Only evented servers such as Node.js, Tornado, or Thin are equipped incorporate an event loop that is optimal for supporting HTTP streaming. These, non-blocking servers handle persistent connections from a large number of concurrent requests very well.
A complete discussion on evented vs. threaded servers is out of scope for this post, but that being said, in the upcoming hack we will provide a very simple evented server implementation example to get you started. We provide a simple browser based JavaScript to connect to the server, and a server side implementation using Ruby, Thin, and Sinatra. For the record, this is also very easy to do with Node.js.
Here is a link to the companion github repository: https://github.com/html5hacks/chapter9
Ruby’s Sinatra
The Sinatra documentation describes itself as a “DSL for quickly creating web applications in Ruby with minimal effort.” This text has focused primarily on Node.js (HTTP Server) and Express.js (web application framework) to quickly generate server side implementations for hacking out functionality.
It would a disservice to not mention Ruby, Rails and Sinatra in the same or similar light as we have Node.js in this text. Although learning Ruby is another learning curve, in the larger scheme of programming languages it is a less daunting curve than most. And as most die-hard Rubyists will preach, it is arguably the most elegant and fun to write of all modern programming languages. Ruby on Rails, and its little brother Sinatra are also great web application frameworks to start with if you are new to web application development.
Much like Node.js and Express, Sinatra makes building small server implementations nearly trivial. So for the context of HTML5 Hacks, that allows us to focus our efforts on programming in the browser.
For now let’s build a simple HTTP Streaming server using Sinatra.
To get started with Ruby On Rails or Sinatra, check out the great documentation available at http://guides.rubyonrails.org/getting_started.html and http://sinatrarb.com/intro, respectively.
Building Push Notifications
Our goal in the next hack is to build a simple streaming server and use the EventSource object to open a persistent connection from the browser. We will then push notifcations from one ‘admin’ browser to all the connected receivers. Sounds simple, right? Let’s get started.
A Simple HTTP Streaming Server
Open up a file and name it stream.rb. Then add the following: Simple requiring of Sinatra and the JSON library:
1 2 | |
Then, we set up a public folder, and set the server to use the evented ruby server, Thin.
1 2 | |
Set up two routs for serving our 2 pages: index and admin. We will use Erb as our templating language. The details are out of scope, but our use is very minimal. More on Erb here: http://ruby-doc.org/stdlib-1.9.3/libdoc/erb/rdoc/ERB.html
1 2 3 4 5 6 7 | |
We’d like to timestamp each notification, so here is a very simple function definition.
1 2 3 | |
We also set up two empty arrays: one to hold the connections and the other to hold out notifications.
1 2 | |
Now, for the routes. When our browser loads it s page, we have JavaScript running which will use the EventSource object to connect to a url here: http://localhost:4567/connect.
More on EventSource later.
But for now you can see the magic of the evented HTTP stream, the connection is held open until a callback is fired to close the stream.
1 2 3 4 5 6 7 8 9 10 11 | |
Finally, any data this posted to the /push route is pushed out to each connected device.
1 2 3 4 5 6 7 8 9 10 | |
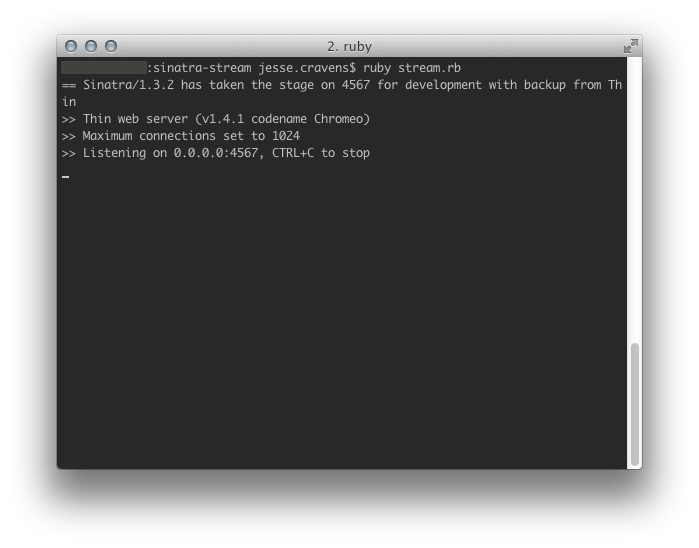
As we said before, you can just follow the instructions at our git repository to pull down and build this code. Or if you have been following along, launch a terminal, navigate to the directory where you code is, and run:
1
| |
Figure 9.15 Starting the Sinatra Server
Alright, so now that we have out Sinatra app up and running with custom routes to handle incoming requests from our browser.
If this doesn’t make complete sense yet, just hang loose. In the upcoming subsections, the rest of the items will start to fall into place.
Set Up the HTML pages
We will be building 2 pages: one for the admin to push out notifications, and the other will be for the connected receivers to receive the notification. Both of these ‘views’ will share the same layout, as such:
1 2 3 4 5 6 7 8 9 10 11 12 13 14 15 16 17 | |
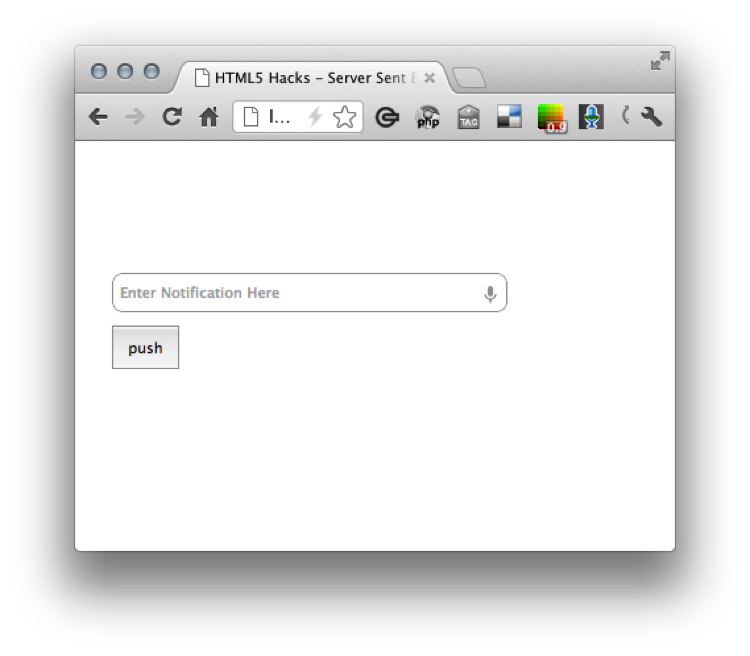
The admin page will contain an input tag and a simple button.
1 2 3 4 | |
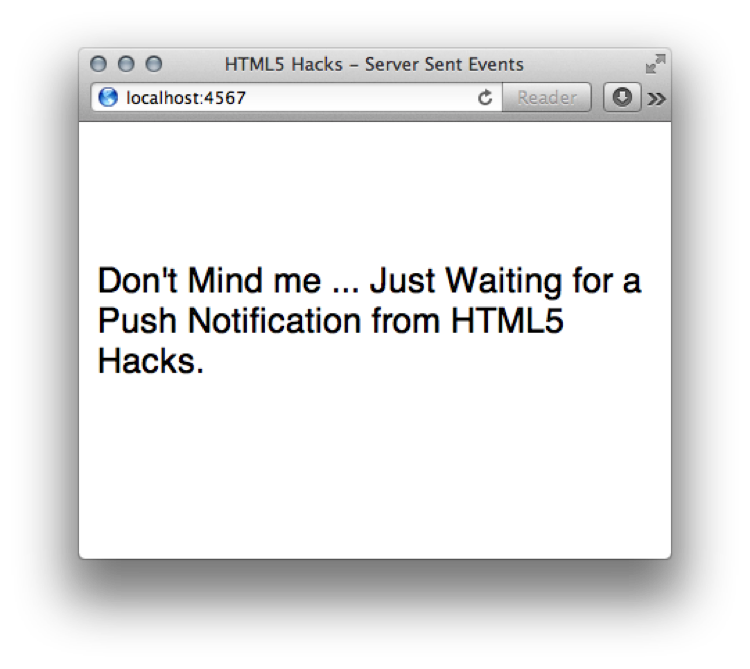
And our receiver pages will display a simple piece of text:
1 2 3 | |
By launching one browser window to http://localhost:4567/admin you should now see our admin form.
Figure 9.16 The initial admin page
And, navigate to http://localhost:4567 in your browser and you should see.
Figure 9.17 The initial index page
Adding a bit of jQuery
We need to add a bit of JavaScript to attach an event listener to the “send” button. This snippet will prevent the default submission of the form and post the notifcation object to the server as JSON. Notice the url /push maps to the route we defined in our Sinatra app.
1 2 3 4 5 6 7 | |
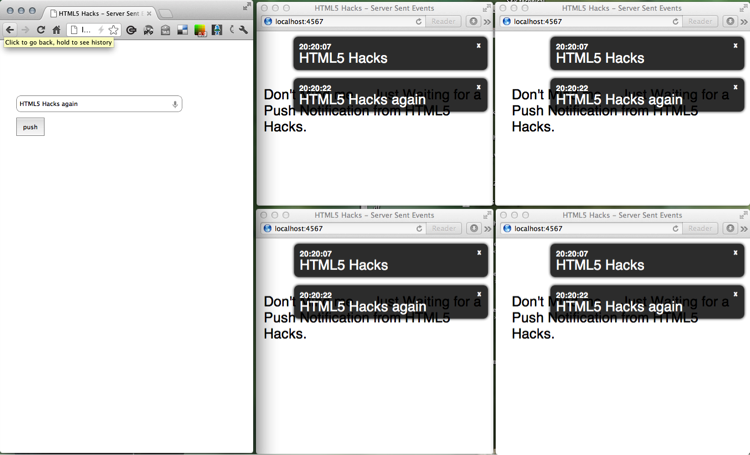
Now, lets open up five browser windows: one admin at http://localhost:4567/admin and four more receivers at http://localhost:4567
Figure 9.18 Opening 5 browser windows
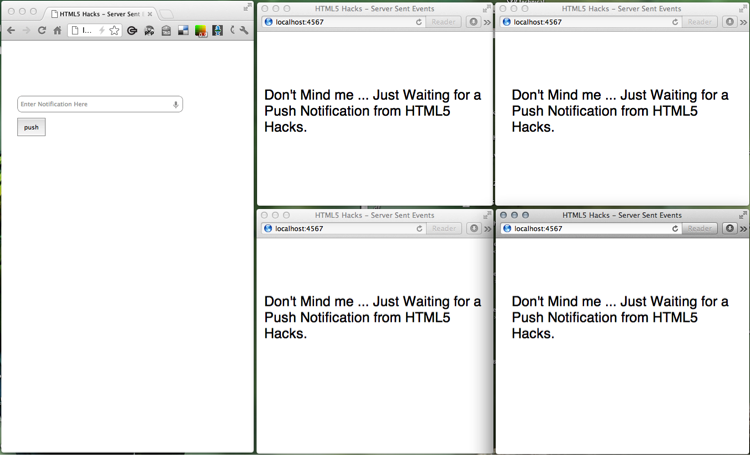
Looking good.
But before we get started, lets set up our EventSource.
EventSource
Event Source is a super simple JavaScript API for opening a connection with an HTTP stream. Because our receiver pages are just ‘dumb’ terminals that receive data, we have an ideal scenario for Server Side Events. Earlier, when we discussed the Sinatra app, we showed exposing a route for the browser to connect to an HTTP stream. Well, this is where we connect!
1 2 3 4 5 6 7 | |
Now we can add a simple notification with the available data,
1 2 3 4 5 6 7 | |
And here is the final script for the admin:
1 2 3 4 5 6 7 8 9 | |
Installing jQuery.notify
For our Push Notifcations we will make use of Eric Hynds great jQuery plugin jquery-notify, located here at github: [github.com/ehynds/jquery-notify] (https://github.com/ehynds/jquery-notify)
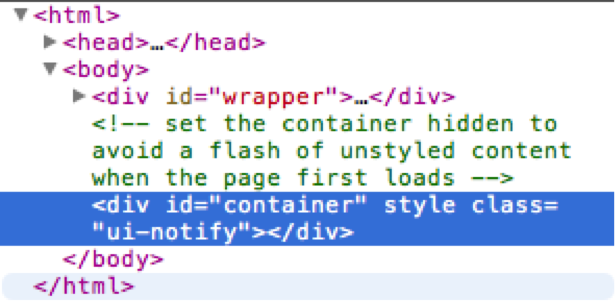
In order to display the notification, we will need to include some markup to the receiver page.
1 2 3 4 5 6 7 | |
This creates a hidden div tag in the bottom of the document. We are not showing the CSS that uses “display: none” to hide it, but you can see more by examining the source code in the companion git repo.
Figure 9.19 Inspecting the DOM in Chrome Dev Tools
In order for jQuery.notify to initialize, you must first call the following:
1 2 3 4 | |
And here is the final script for the receiver:
1 2 3 4 5 6 7 8 9 10 11 12 13 14 15 16 | |
It’s that simple. The EventSource API is minimal and plugging it into a web framework like Sinatra or Node.js is straightforward.
Now, as we submit notifications from the admin page, our receiver pages are updated with time stamped notifications:
Figure 9.20 Pushing Notifications to the Connected Browsers